Ash 는 리소스를 JSON 형식으로 API 로 노출하는 익스텐션도 있다. 튜토리얼을 따라가며 살펴 보자.
Ash 기본 튜토리얼의 코드 부터 시작한다. 이 때 mix 프로젝트는 Phoenix 가 설치된 프로젝트여야 한다. 다음 명령어를 실행시켜 AshJsonApi 를 설치한다.
% mix igniter.install ash_json_api위 명령어를 실행하면 단계적으로 사용자의 확인을 받아가며 AshJsonApi 가 설치 된다. 모두 Y 를 선택해 설치를 완료한 다. 이후 오류 없이 phoenix 서버를 실행 된다면 준비가 완료된 것이다. Swagger UI 가 제공되므로 바로 확인할 수 있다. API 의 기본 경로는 /api/json 이고 Swagger UI 의 경로는 /api/json/swaggerui 이다.
% mix phx.server

# 이후 브라우저에서 http://localhost:4000/api/json/swaggerui 호출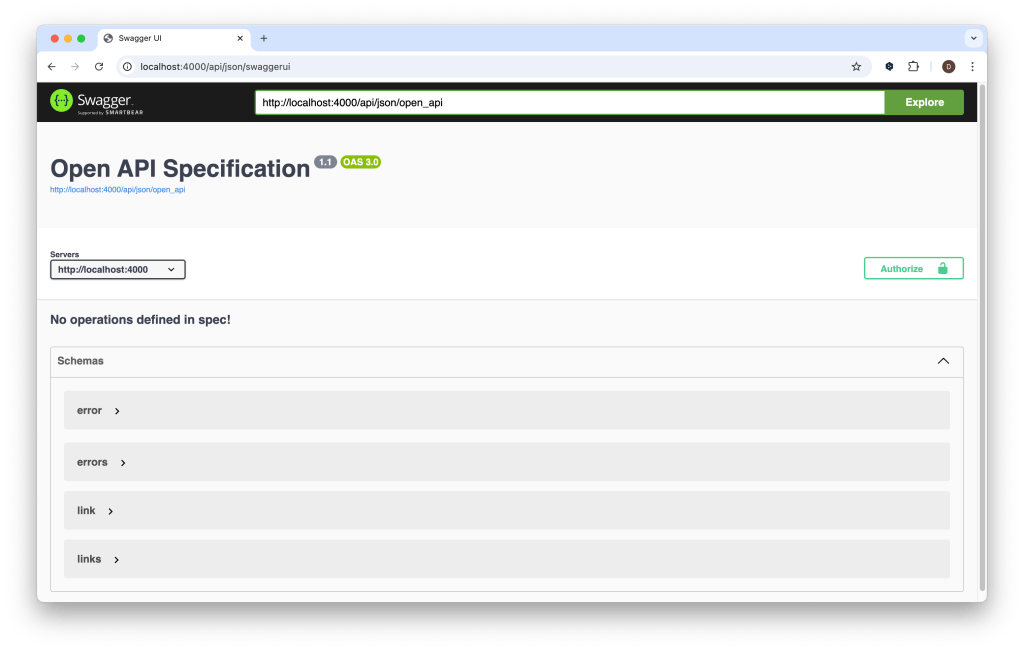
이제 도메인과 리소스에 익스텐션 설정을 추가하자. 다음 명령어를 실행하면 Ticket 리소스에 익스텐션 설정을 추가할 수 있다. 다른 리소스에 추가하려면 리소스 이름을 변경한다.
% mix ash.patch.extend Helpdesk.Support.Ticket json_api# 도메인에 다음과 같이 익스텐션 설정이 추가된다
defmodule Helpdesk.Support do
use Ash.Domain, extensions: [AshJsonApi.Domain]
...
# 지정한 리소스에는 다음과 같이 설정이 추가된다.
defmodule Helpdesk.Support.Ticket do
use Ash.Resource, extensions: [AshJsonApi.Resource]
# ...
json_api do
type "ticket"
end
end다음은 해당 리소스에 접근하기 위한 라우트 설정이 필요하다. API 주소를 설정하는 것으로 이해하면 되겠다. 라우트 설정은 도메인 또는 리소스에 선언할 수 있는데 도메인에 설정되는 것이 권장되는 것 같다. 도메인 코드에 라우트 선언을 추가하자.
defmodule Helpdesk.Support do
  use Ash.Domain, extensions: [AshJsonApi.Domain]

  # 추가하는 부분
  json_api do
    routes do
      base_route "/tickets", Helpdesk.Support.Ticket do
        get :read
        index :read
        post :open
      end
    end
  end

  ...
end
base_route 는 일종의 스코프처럼 동작하며 해당 리소스의 기본 주소로 사용된다. get 은 단일 리소스 획득, index 는 리소스 목록 획득, post 는 리소스를 만드는 역할을 한다. 뒤에 따라오는 atom 은 리소스의 action 이름이다. action type 과 route type 이 맞지 않으면 에러가 발생한다(예: get :open, post :read 등). routes 에서 사용할 수 있는 route type 의 예시는 다음과 같다.
routes do
  base "/posts"

  get :read
  get :me, route: "/me"
  index :read
  post :confirm_name, route: "/confirm_name"
  patch :update
  related :comments, :read
  relationship :comments, :read
  post_to_relationship :comments
  patch_relationship :comments
  delete_from_relationship :comments
end
도메인에 API 라우트 선언을 추가하고 나서 서버를 재 실행한 뒤 /api/json/swaggerui 를 다시 열어보면 선언한 API 가 문서로 만들어 진 것을 확인할 수 있다.

Swagger UI 에서 직접 테스트를 해 볼 수도 있고 브라우저 및 curl 로도 테스트 해 볼 수 있다.
% curl -X POST 'localhost:4000/api/json/tickets' \
--header 'Accept: application/vnd.api+json' \
--header 'Content-Type: application/vnd.api+json' \
--data-raw '{
  "data": {
    "type": "ticket",
    "attributes": {
      "subject": "This ticket was created through the JSON API"
    }
  }
}'

% curl 'localhost:4000/api/json/tickets'

% curl 'localhost:4000/api/json/tickets/<uuid>' // uuid 는 조회할 ticket 의 uuid
목록 또는 단일 레코드를 조회 해 보면 데이터 수나 id 값은 표시되는데 레코드의 값은 표시되지 않을 수 있다.
{
  "data": [
    {
      "attributes": {},
      "id": "1731818f-e40f-4376-9356-292e17243d05",
      "links": {},
      "meta": {},
      "type": "ticket",
      "relationships": {}
    },
    {
      "attributes": {},
      "id": "310143d0-3c3a-4507-9ea4-6f84d2ba5122",
      "links": {},
      "meta": {},
      "type": "ticket",
      "relationships": {}
    },
    ...
  ]
}
이 때는 리소스의 attribute 별 public? 설정을 true 로 바꿔주면 해당 attribute 의 값이 표시된다.
defmodule Helpdesk.Support.Ticket do
  ...

  attributes do
    uuid_primary_key :id

    attribute :subject, :string do
      allow_nil? false
      public? true  # 추가
    end

    attribute :status, :atom do
      constraints one_of: [:open, :closed]
      public? true
      default :open
      allow_nil? false  # 추가
    end
  end

  ...
end
{
  "data": [
    {
      "attributes": {
        "status": "open",
        "subject": "Issue 3"
      },
      "id": "1731818f-e40f-4376-9356-292e17243d05",
      "links": {},
      "meta": {},
      "type": "ticket",
      "relationships": {}
    },
    {
      "attributes": {
        "status": "closed",
        "subject": "Issue 4"
      },
      "id": "310143d0-3c3a-4507-9ea4-6f84d2ba5122",
      "links": {},
      "meta": {},
      "type": "ticket",
      "relationships": {}
    },
  ...
}
AshJsonApi 익스텐션을 통해 비교적 손쉽게 리소스에 REST API 를 붙일 수 있었다. 내부 리소스를 외부에 직접 노출하는 것에 대한 이견은 있을 수 있지만 만약 여러가지 이유로 인해 내부 리소스를 바로 외부에 노출하기로 결정했다면 매우 유용한 도구가 될 것 같다. Swagger 형태의 API 문서가 같이 제공되는 점도 큰 장점이라 할 수 있겠다.
